 Making template to lower neckline is something I do when I have to reshape a neckline. We all know that if you have a big bust, you are better off to have a "V" neckline or at least have a lower neckline than normal. The "V" takes the line of the eye away from the bulk at the bust. Personally I have large bust and I prefer rounded necklines, however both work for most people.
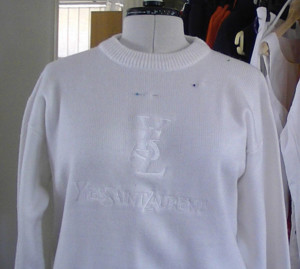
I have a lot of tops I alter, and over the years I have developed different techniques for lowering the neckline. The best is a template. Before that I pin where around the neckline to decide on the new shape. If this is for a customer, I would pin it all the way around, however in this instance I had the jumper on a dummy and only pinned half way.
I draw the shape I want on a piece of light cardboard making sure that the left side and the right side are the same length and width apart.
Cut around the outline and use this as your template to mark the top. This method ensures you get the right side and the left side exact.
TIP - Lay over the garment AND MARK UPWARDS TOWARDS THE NECK FOR THE SEAM ALLOWANCE. Cut on the top mark.
One mistake people make is that they just cut off the back band, but this usually makes the top too wide at the neck. I prefer to unpick the back band around to the front. That way I am still keeping the shape at the back of the neck, and not make it too wide at the shoulders.
If you are shortening the hem, cut the piece off in a circle and use this as your band around the neck. If it is the same fabric as the back, then put a join at the shoulder seams, which means you don't have to unpick the back.
Happy altering
Judith Turner